
Recipe: The Ultimate Ski Snack
Recipe: The Ultimate Ski Snack

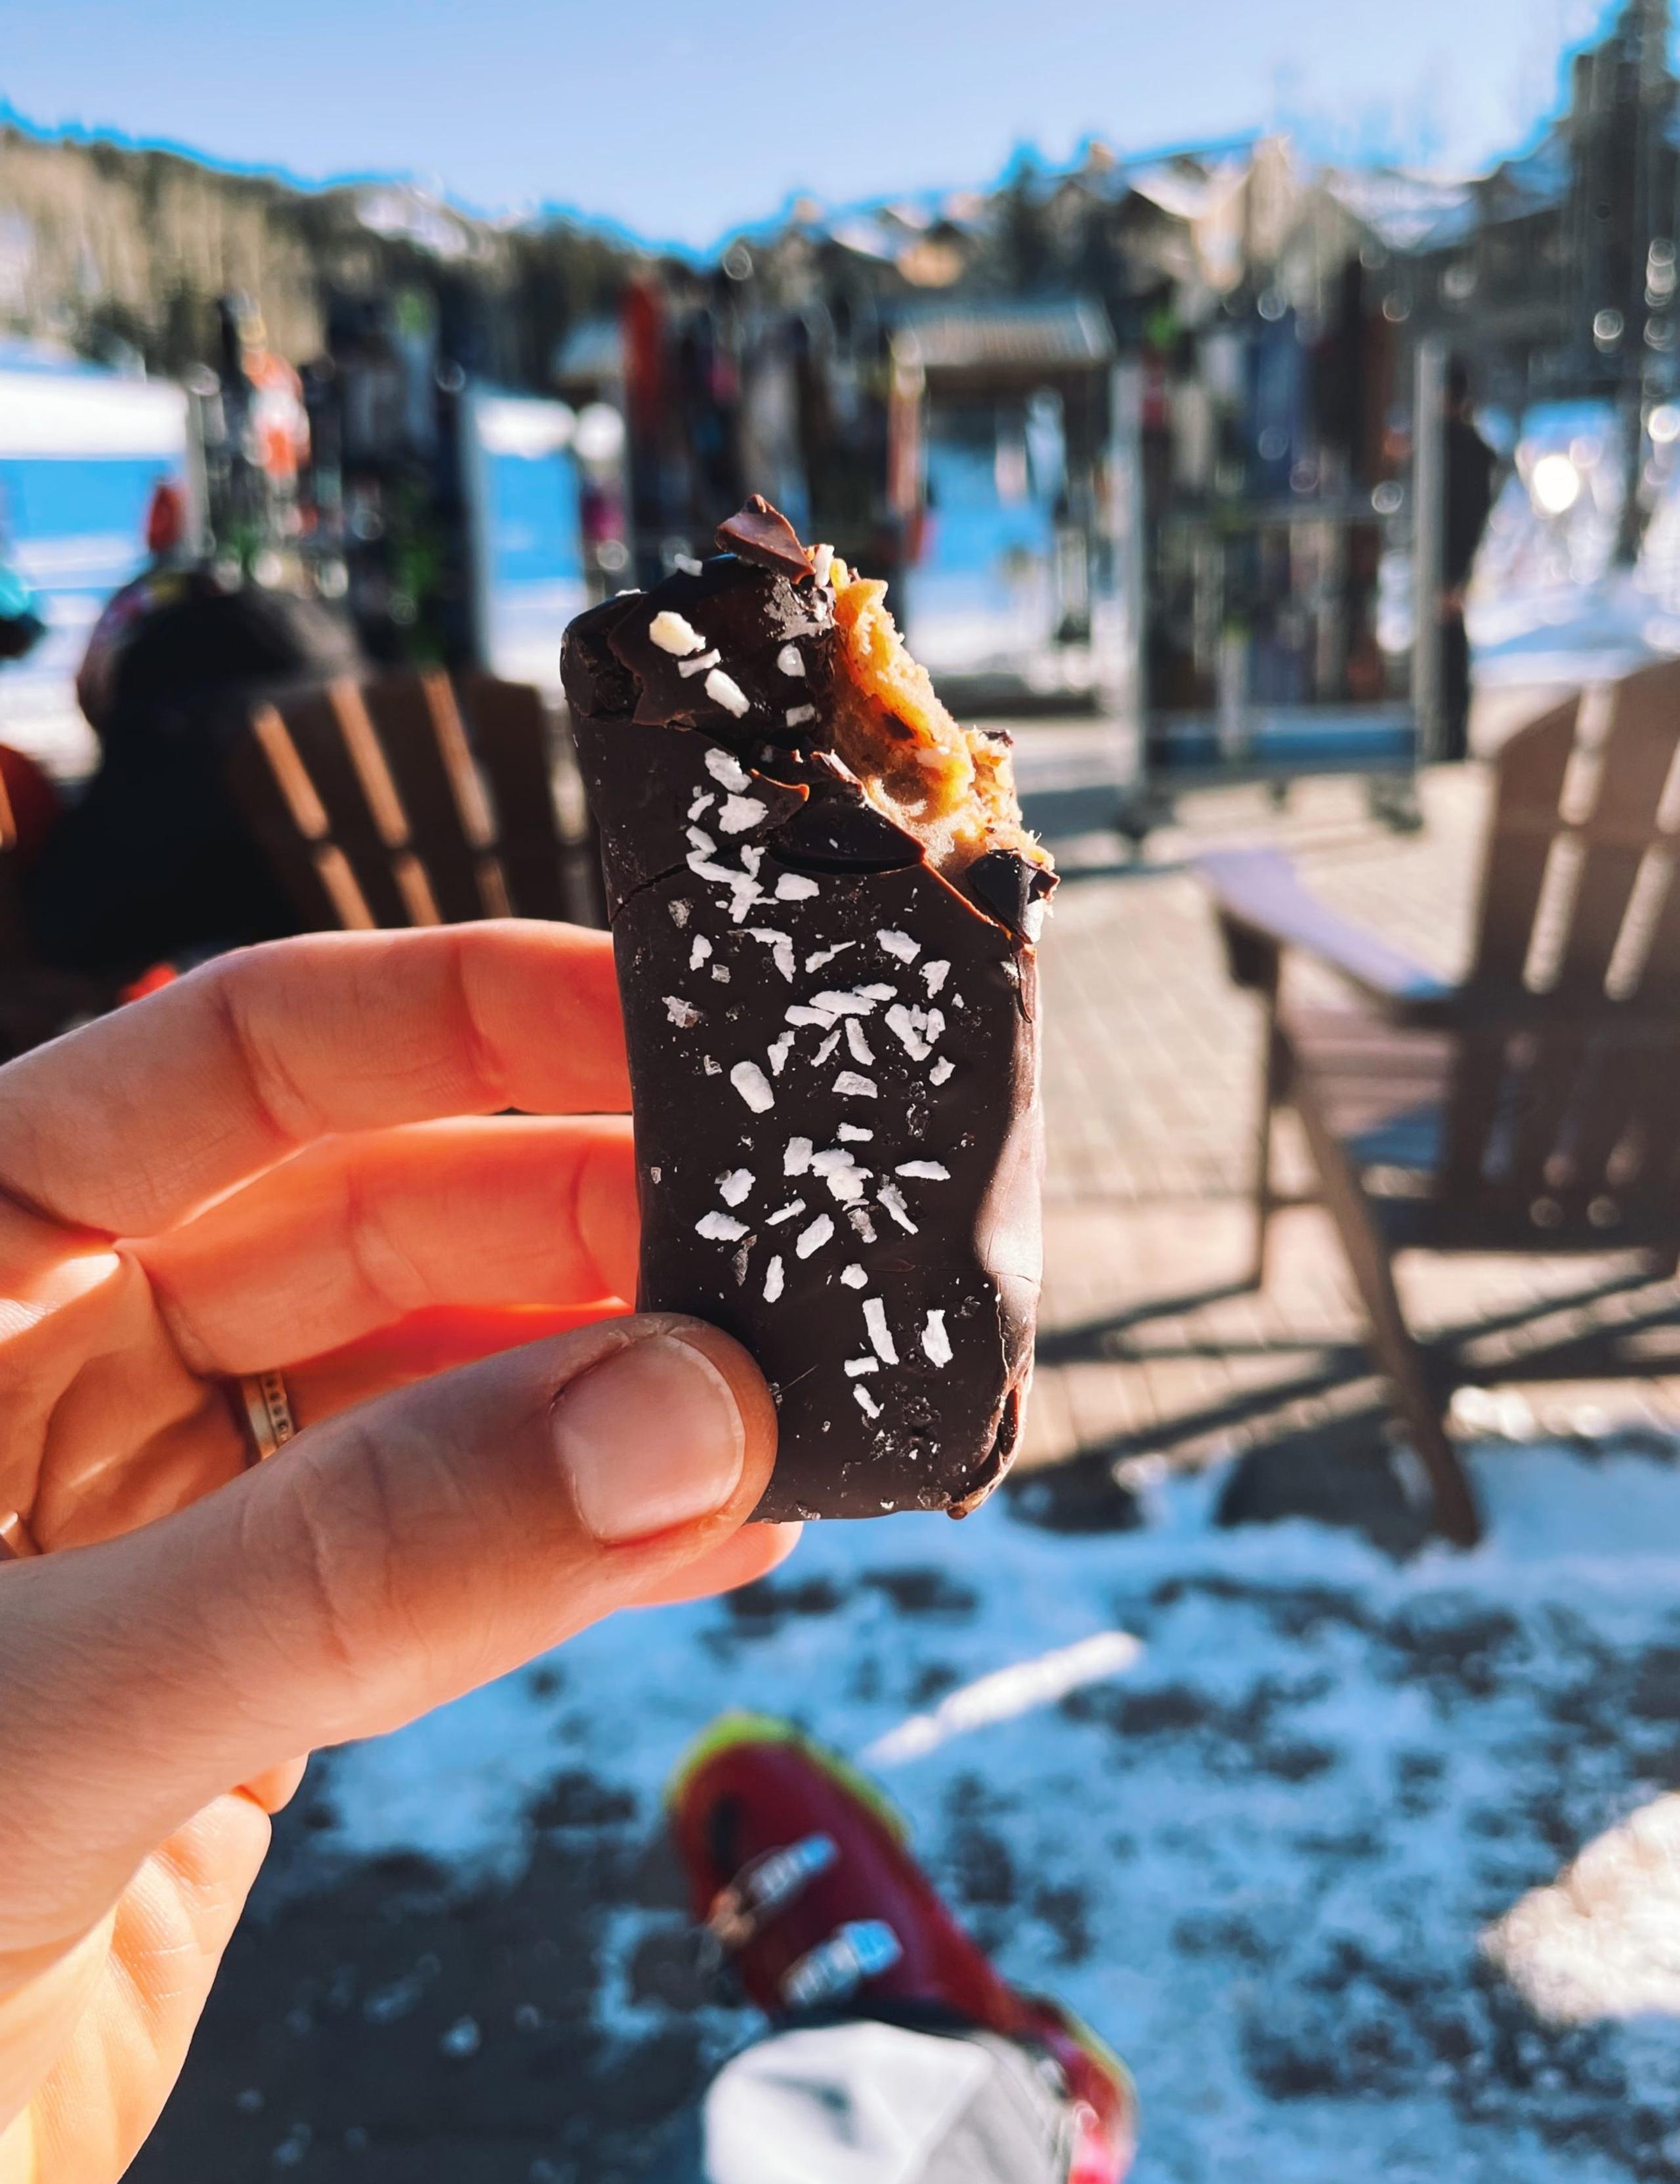
Boulder, Colorado-based Lentine Alexis is a classically trained chef and former professional endurance athlete who takes her snacks seriously. Having traveled the world in search of the best natural fuel for our bodies, she has put her vast knowledge to use as a culinary consultant for companies including Whole Foods Market and Skratch Labs—that is, of course, when she’s not running and biking through the Rockies or skiing in the backcountry. Through years of study and experience, Alexis brings an Ayurvedic approach to creating recipes and menus that support a holistic approach to wellness. In this case, that means a healthy snack that feels (and tastes) like an indulgence. “I’m nothing if not a champion of holistic, homemade snacks to put in my pockets for winter adventuring,” says Alexis. One of her favorite cold-weather treats is her Date & Coconut Caramel Candy Bars. “There is no better ski snack than one of these homemade, healthy candy bars because they’re packed with ingredients that mineralize, nutrify, reduce inflammation, and boost energy levels—all in a convenient and decadent gluten- and dairy-free package,” she says. “They’re not too sweet, and they stack up to any day on the slopes or in the backcountry. They won’t melt or give you a sugar rush, but they WILL result in jealous side glances from your ski squad.” Here, she shares the delicious and energizing recipe. ↓

Lentine’s Date & Coconut Caramel Candy Bars
LENTINE’S DATE & COCONUT CARAMEL CANDY BARS
For the crunchy cookie crust:
4 oz Medjool dates, pitted
3/4 cup oat flour (from ~1 1/2 cups rolled oats pulsed in a food processor)
2/3 cup pecans
1/4 cup arrowroot powder
1/2 tsp kosher sea salt
6 Tbsp coconut oil, butter or vegan butter, melted
For the date caramel:
2 1/2 Tbsp coconut cream, scraped from the top of a can of full-fat coconut milk
1/3 cup coconut oil + 2 tsp, divided
1 tsp organic vanilla extract
1/2 tsp kosher sea salt
8 1/2 oz Medjool dates, pitted
For the chocolate coating:
12-16 oz 72% dark chocolate chips, such as Guittard's Santé Baking Chips
toasted coconut + flaky sea salt, for finishing

Preheat the oven to 350°F. Grease the inside of an 8x8 inch square pan with coconut oil, then line with parchment paper and grease the paper, allowing the paper to hang over two of the sides like a sling. Set the pan aside.
In the bowl of a food processor fitted with the blade attachment, pulse the oat flour until very fine. Add the pecans, arrowroot powder, dates, and sea salt and pulse to combine. Add the coconut oil and pulse again until a crumbly dough forms. Press the mixture into the prepared pan, patting it evenly with a spatula or with your hands. Transfer the cookie base to the oven and bake for 20-25 minutes, until fragrant and golden brown. Remove the cookie crust from the oven and allow it to cool while you prepare the rest of your candy bar layers. While the cookie crust is baking, clean your food-processor bowl.
Next, make your date caramel. In a medium-sized saucepan, combine the 1/3 cup coconut oil, coconut cream, vanilla, and sea salt. Bring the mixture to simmer over medium heat then add the dates and allow it to simmer for 1 minute before removing the pan from the heat and allowing the mixture to steep for 10 minutes or so. Transfer the entire date mixture to the bowl of a food processor fitted with a blade attachment. Puree the mixture for 3-5 minutes, until it's very creamy and thick. Be patient, it may take a minute to reach the desired caramel-y consistency! Scrape the date caramel onto the cooled cookie crust and spread evenly with a spatula or offset spatula.
Lastly, warm 3 oz of chocolate in a small, heat-proof bowl over a double boiler—or zap it quickly in the microwave in 30-second bursts. DO NOT EXCEED 30 seconds in any given burst as you'll risk overheating the chocolate. As soon as 70% of the chocolate is melted, stop zapping or heating and stir the chocolate gently. This will allow the ambient temperature to melt the chocolate the rest of the way. When the chocolate is melted and smooth, pour it over the date caramel and smooth the chocolate with an offset spatula to create an even layer. You can also tilt and turn the pan so the chocolate runs over the candy bar base.
Transfer the chocolate-coated candy bar base to the fridge and allow it to set for at least 2 hours. This allows the chocolate and caramel to harden enough to cut the bars.
When the chocolate and caramel have been set sufficiently, it's time to cut and finish your candy bars!

“They’re not too sweet, and they stack up to any day on the slopes or in the backcountry.”
Use a knife to loosen all along the edge of the pan, between the parchment paper and the pan itself. Then, use the parchment-paper sling to remove the candy bar block and transfer it to a cutting board. Using a sharp knife (preferably an 8-10" chef's knife), score the candy bar block into thirds, then turn the pan and score it into 7 columns. When you're confident and content with your even scores, press the knife firmly through the candy bar to cut all the way through the cookie layer. The chocolate coating will likely crack a bit—that's ok. You'll now have about 21 evenly sized candy bars!
Line a rimmed baking sheet with parchment paper, then place a cooling rack inside the baking sheet. Prepare to coat your candy bars in chocolate. In a large heat-proof bowl, combine the remaining 12 oz chocolate and 2 tbsp coconut oil. Fill a small saucepan one-quarter full with water and bring to a simmer over medium heat. Place the bowl of chocolate on top and stir until the chocolate is melted and shiny. Remove the bowl of chocolate and place it on a towel (to preserve the heat.)
Gather a set of tongs, a spoon, and a small rubber spatula. Take a still-cold candy bar slice with the tongs and plunk it straight into the chocolate, using the spatula or spoon to coat it in chocolate. Then, lift the candy bar out of the chocolate using the tongs. Place it on the cooling rack to drip off any excess chocolate, sprinkle the top with a bit of coconut and flaky sea salt, then move to the next candy bar slice. Repeat with all of the candy bars.
When all of your bars have been coated in chocolate, place them on a rimmed baking sheet lined with parchment paper and again transfer them to the fridge to set up. Once the chocolate is set, you can move them to an airtight container for storage. Keep the container in the fridge—eat and share often! •